Protect a video clip
Video clips can be protected from automatic, manual, or accidental deletion. When the online storage is full, protected clips will be skipped when making room for new uploads. For more information about online storage, see What happens when an account's video clip online storage limit is reached?.
Caution: If the Limit the number of days to keep clips setting is set to a specific timeframe, protected clips are removed too if they reach the configured number of days. For more information, see Change the number of days to keep video clips before deletion.
Protect a video clip
To protect a video clip using the Alarm.com app:
- Log in to the Alarm.com app.
- Tap Video.
- Tap Saved.
- Tap
.PNG?revision=3&size=bestfit&width=26&height=26) to select the desired clips.
to select the desired clips. - Tap
 .
. - Tap Protect.
To protect a video clip using the Alarm.com customer website:
- Log in to the Alarm.com customer website.
- Click Video.
- Click Saved Video Clips.
- Choose whether to protect individual clips or multiple clips.
- To protect individual clips:
- Mouse over the desired clip, then click
 .
. - Click Protect clip.
Important: A Protected Clips Reminder may populate after selecting a clip to protect. Downloading the clip is recommended to ensure you retain access to it. Alternatively, you can change the Limited the number of days to keep clips setting to Unlimited. For more information, see Change the number of days to keep video clips before deletion.
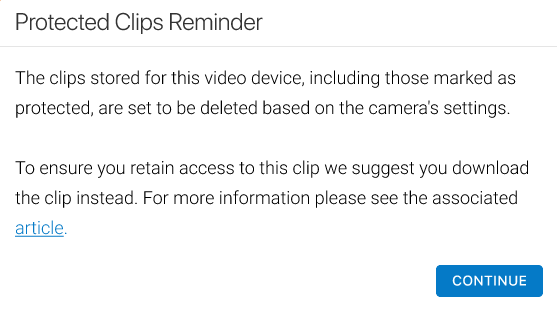
If you do not see the option to change the number of days to keep video clips before deletion, reach out to your service provider for more information.
- Mouse over the desired clip, then click
- To protect multiple video clips at once:
- Click Bulk Actions.
- Click each desired clip or click to select all the videos shown on the page.
- Click
 .
.
- To protect individual clips: