Set up a new account using the Welcome Letter and setup wizard
A new user account can be created once a Welcome Letter is provided. The Welcome Letter is first used to create the login for the new user account, followed by an account setup wizard when logging in for the first time.
For questions regarding how to get a Welcome Letter or activating the account setup wizard, contact your service provider.
Create a login using the Welcome Letter
A Welcome Letter can be provided either by your service provider as a printed copy or by email. Once a Welcome letter is received, follow its instructions to create the login for the new user account.
Note: The email Welcome Letter is sent to the primary email account that is initially attached to the new user account.
To create a login using a physical Welcome Letter:
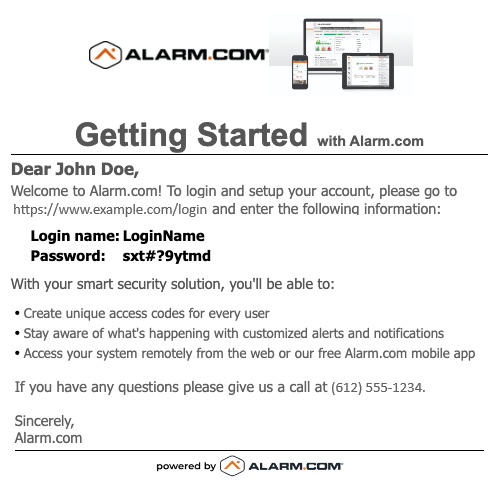
A printed Welcome Letter will provide the new account's username, as well as a temporary password. Navigate to the website provided in the Welcome Letter and use the provided username and temporary password to log in for the first time.
Once logged into the account for the first time, change the temporary password to a custom password. For more information about how to change the password on an account, see Change or reset a password.
The following is an example of a printed Welcome Letter:
To create a login using an email Welcome Letter:
A Welcome Letter sent by email contains the new account login name, as well as a link that leads to the account's password set up.
The following is an example of an emailed Welcome Letter:

Account set up using the setup wizard
Once an account has been logged in for the first time, the setup wizard will guide the new user through the general configuration of an account. The setup wizard covers the following:
Password
Create a password for the account, then tap Update Password.
Important: The password must contain at least 1 number, symbol, letter, and at least 10 characters. It is not recommended to use personal identifying information to ensure maximum security.

Security Question
Select a security question for the account, enter an answer, then tap Save.

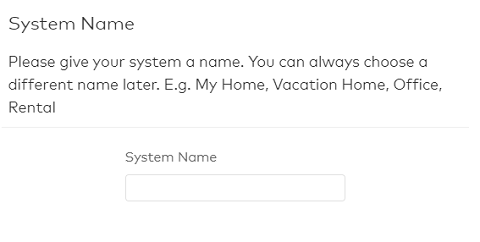
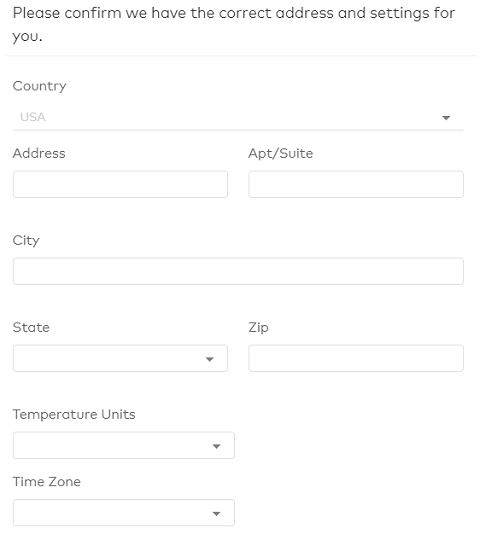
Account Information
Note: The following information is only required for commercial accounts.
- Enter a name for the system (e.g., Home).
- Enter the system information (e.g., i.e., system address, temperature units, and time zone)
- Enter the Monitoring Station registration information (if applicable).
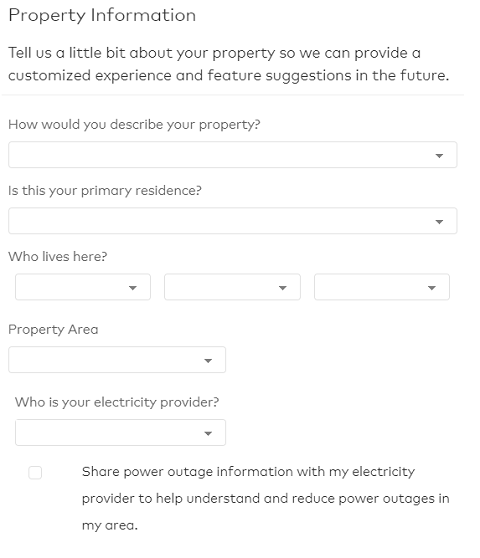
- Select the property information.
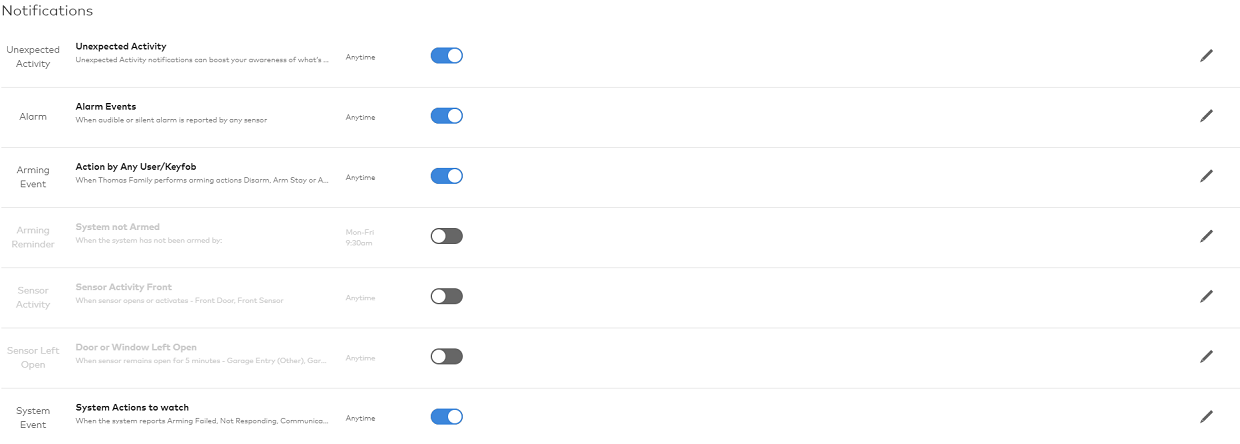
- Configure notifications for the system. Notifications can be edited and new ones can be created. For more information about how to configure notifications, see Notifications.
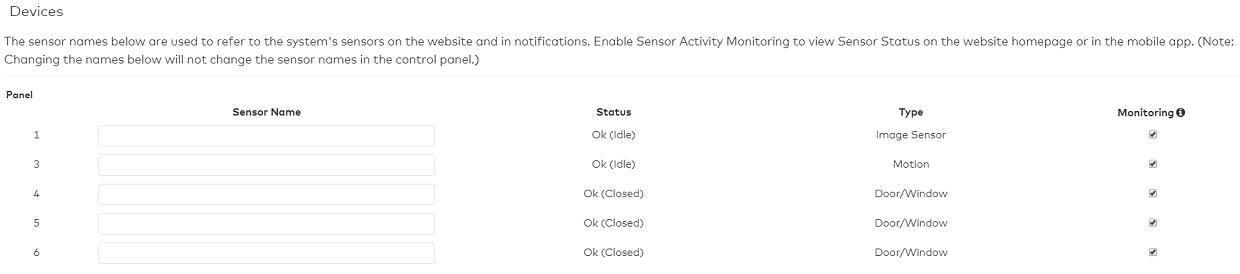
- Configure the devices on the system. (i.e., Sensor Name and Monitoring).
Two Factor Authentication
In Two Factor Authentication, tap Set up now to set up Two Factor Authentication.
For more information, see What is Two Factor Authentication?.

Verify Email Address
To verify the email address:
- In the Primary Email Address field, enter the email address associated with the account.
- Tap Send Email.
- Access the email and locate the verification email.
- Tap Verify.

Agree to the Terms
Agree to all user agreements and terms, then tap I agree.

Get Started with My Circle
To set up My Circle, tap Download Now.
For more information, see My Circle Overview.

Billing Information
Enter billing information, then tap Save.

Communication Preferences
Set up communication preferences, then tap Save.

Important Message
If one or more devices have been added locally and are not support, an important message will display. Tap Ok to continue.
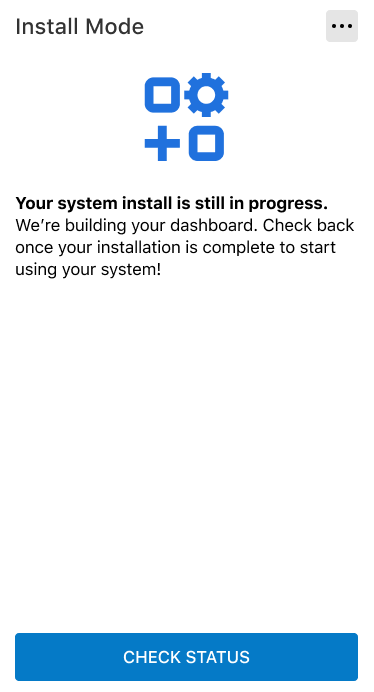
Install Mode
Allow time for the dashboard to be built. The system can be used after the installation is complete.
To check the status of the installation, tap Check Status.