Change SmartAway thermostat schedule settings
A SmartAway thermostat schedule can change a thermostat's scheduled setpoint based on system activity. This setting changes the default schedule if the security system is set to Armed Away, or all selected Geo-Devices have left the specified Geo-Fence.
To change SmartAway thermostat schedule settings using the Alarm.com customer website:
- Log in to the Alarm.com customer website.
- Click Automation.
- Click Schedules.
- Click
 on the thermostat schedule to be edited.
 - Click Smart Away.
- Click the toggle switch to enable or disable the SmartAway thermostat schedule.
- Click to select the SmartAway options to apply to the thermostat schedule:
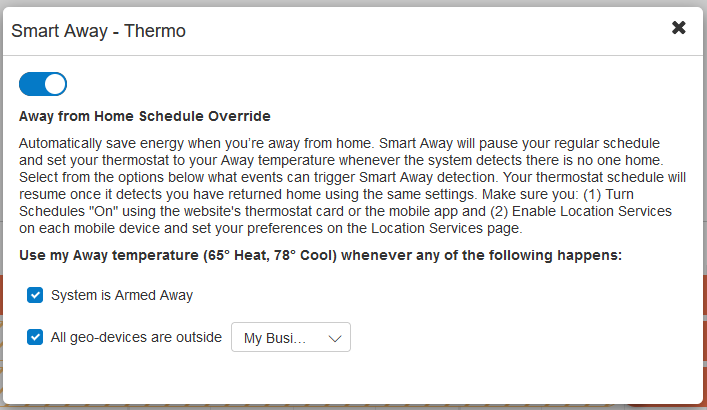
- System is Armed Away to only apply the SmartAway settings when the system is in Armed Away. If the panel has multiple partitions, the Smart Away thermostat schedule will be based on the arming status of partition 1.
- All geo-devices are outside Geo-Fence to use the dropdown menu to specify which Geo-Fence will trigger the SmartAway thermostat schedule. For more information, see Add a new Geo-Device and What is a Geo-Fence?.
- Click Save Schedule.
The following image is an example of a SmartAway thermostat schedule enabled for when the System is Armed Away, and when the Geo-Devices leave the My Business Geo-Fence.