Create/edit a camera group
Camera groups are a way for users to organize their video streams on the Live Video page. A default camera group labeled All Cameras is created automatically, and it contains all cameras on the account. Users can create additional camera groups and switch between them as needed using the Alarm.com customer website.
To create a camera group:
Note: Users can create new camera groups directly from the camera selection dropdown menu. For more information about the camera selection dropdown menu, see View specific video devices and camera groups.
- Log in to the Alarm.com customer website.
- Click Video.
- Click
 .
. - Click New Camera Group.
- Click to select as many cameras as desired. There is no limit to the number of cameras that can be added to a group.
Note: When creating a camera group on an Enterprise account, video devices from different locations can be grouped. Single-system users can only select cameras enrolled to their account. - Click and drag the camera previews into the desired order.
- In the Group Name field, enter a name.
- Click Save Group.
Edit existing camera groups
To add or remove cameras in a camera group:
- Log in to the Alarm.com customer website.
- Click Video.
- Click .
- Click
 next to the desired group.
 - Click to select or deselect all desired cameras. There is no limit to the number of cameras that can be added to a group.
- Click and drag the camera previews into the desired order.
- Click Save Group.
To rearrange the cameras in a camera group:
The cameras appear in the same order on the video pages as they do on the Edit Camera Group page.
- Log in to the Alarm.com customer website.
- Click Video.
- Click .
- Click next to the desired group.
- Mouse over the camera view, then click and drag
 to move it. Drag the camera view all the way to the
  icon to ensure it moves to the correct position.

- Click Save Group.
Multi-camera live view and group management for mobile
Multi-camera live view for mobile allows customers to view up to 4 live streams simultaneously when using the Alarm.com app.
Note: Multi-camera live view is only available on the Alarm.com app through the Video Card. While doorbells can be added to groups and viewed on the Alarm.com customer website together, this will not be seen on the Alarm.com app unless there are other video devices on the customer account.
Multi-camera view layout options
After logging in to the Alarm.com app, tap  in the Video card to begin the live streams.
- To change the live view:
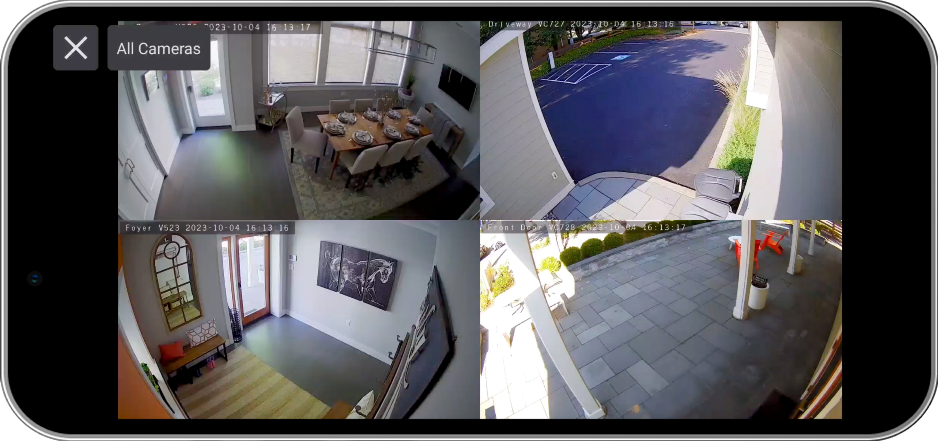
- Tap a single camera to view the individual live stream. Tap
 to return to the multi-camera live view.
 - Tap the All Cameras dropdown menu to select the desired camera group through the Video card on the home page and the expanded view.
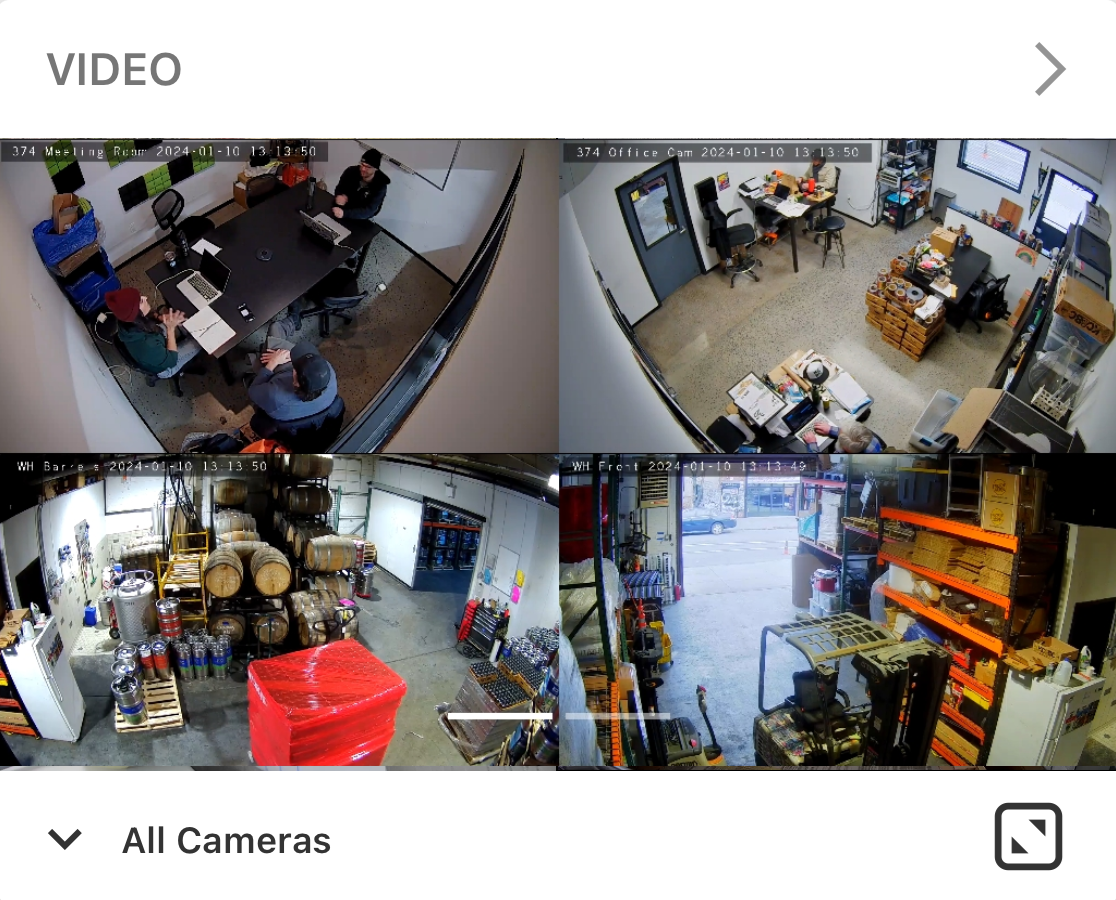
- Tap
 to expand or minimize the multi-camera live view.
 - Swipe left/right to change the cameras and groups in both the expanded and minimized view.
- Tap a single camera to view the individual live stream. Tap