Account setup - Initial login
A new user account can be created once a Welcome Letter is provided. The Welcome Letter is first used to create the login for the new user account, followed by an account setup wizard when logging in for the first time.
For questions regarding how to get a Welcome Letter or activating the account setup wizard, contact your service provider.
Set up a new login using the Welcome Letter
A Welcome Letter can be provided either by your service provider as a printed copy or by email. Once a Welcome letter is received, follow its instructions to create the login for the new user account.
Note: The email Welcome Letter is sent to the primary email account that is initially attached to the new user account.
To set up a new login using a physical Welcome Letter:
A printed Welcome Letter will provide the new account's username, as well as a temporary password. Navigate to the website provided in the Welcome Letter and use the provided username and temporary password to log in for the first time.
Once logged into the account for the first time, change the temporary password to a custom password. For more information about how to change the password on an account, see Change or reset a password.
The following is an example of a printed Welcome Letter:
To set up a new login using an email Welcome Letter:
A Welcome Letter sent by email contains the new account login name, as well as a link that leads to the account's password set up.
The following is an example of an emailed Welcome Letter:

Account set up using the setup wizard
Once an account has been logged in for the first time, the setup wizard will guide the new user through the general configuration of an account. The setup wizard covers the following:
Review login name
Review or modify your login name, then tap Save.
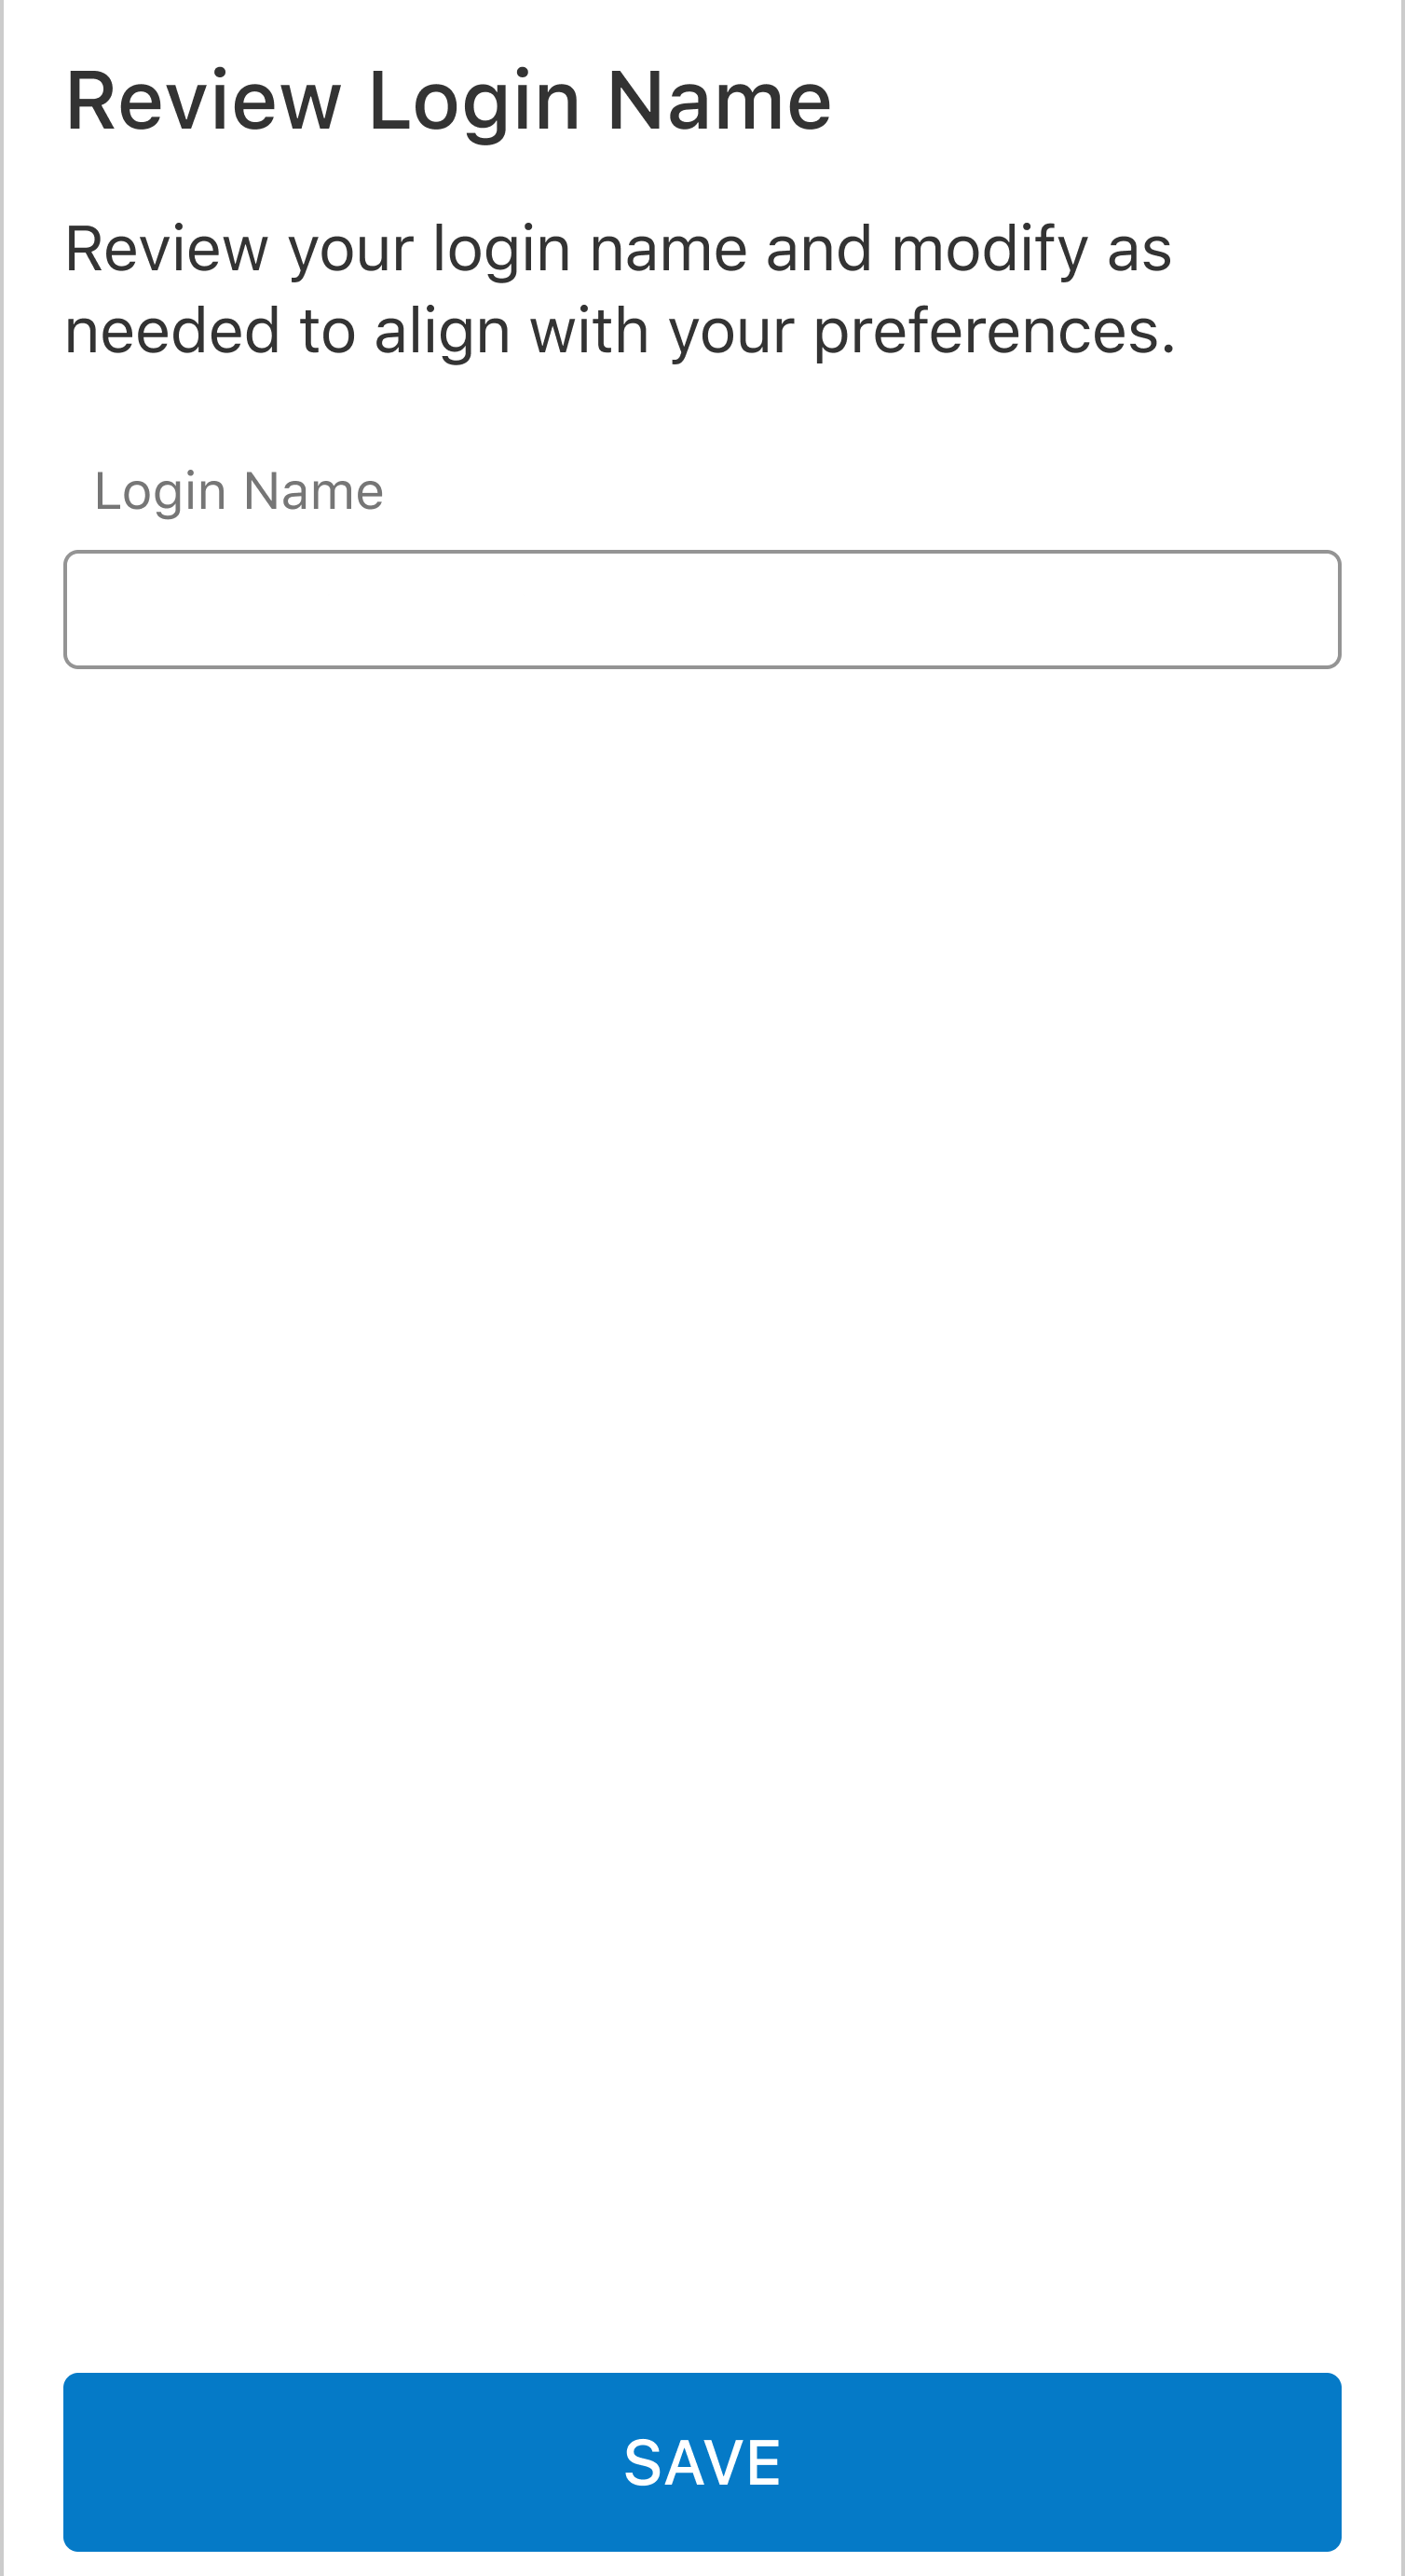
Note: This step will not display for logins set up with SSO.
Create a password
Create a password for the account, then tap Save.
Important: The password must contain at least 1 number, symbol, letter, and at least 10 characters. It is not recommended to use personal identifying information to ensure maximum security.
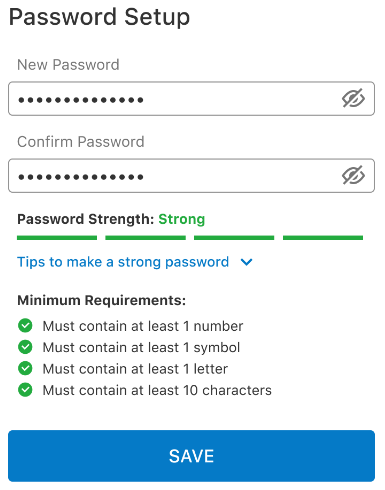
Note: This step will not display for logins set up with SSO.
Select a security question
Select a security question for the account, enter an answer, then tap Save.
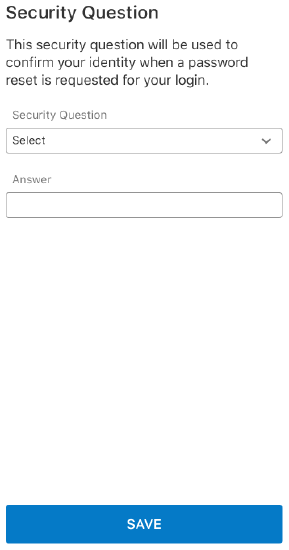
Note: This step will not display for logins set up with SSO.
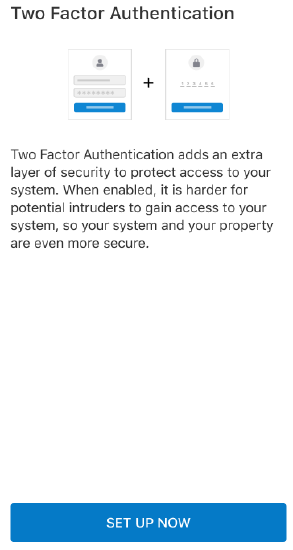
Configure Two Factor Authentication
In Two Factor Authentication, tap Set up now to set up Two Factor Authentication.
For more information, see What is Two Factor Authentication?.
Verify the email address
To verify the email address:
- In the Primary Email Address field, enter the email address associated with the account.
- Tap Send Email.
- Access the email and locate the verification email.
- Tap Verify.
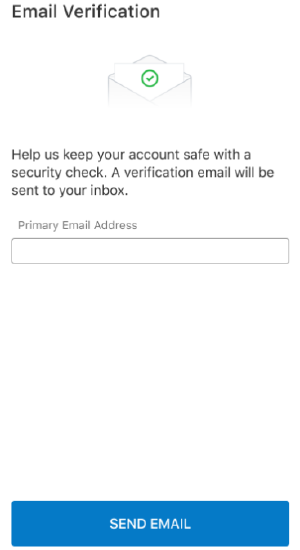
Note: this section will not display if using an emailed Welcome Letter.
Agree to the terms
View the subscription agreement, then tap I agree.
Monitoring station emergency contacts
Update the emergency contacts for your monitoring station.
Note: This only applies to customers with monitoring stations who support this feature.
To update monitoring station emergency contacts:
- Select Add Contact.
Note: On the Alarm.com app, there is an option to add from contacts or to add manually. If adding from contacts, select the correct contacts, then continue to add emergency contacts. - Enter the first and last name of the emergency contact.
- Enter the desired phone numbers and select the Phone Type.
- In Verbal Passcode, enter the desired verbal passcode for each contact.
- Select Save.
.png?revision=1)
- After adding the desired emergency contacts, select Next.
.png?revision=1)
Set up arming reminder
Note: Setting up an arming reminder only applies to security accounts. It does not apply to standalone or automation/awareness accounts.
To set up an arming reminder for your system:
Note: Select Skip to set your arming reminder up later.
- Select the time you expect to arm.
- Choose when you'd like the arming reminder to be active:
- Select All Times to have the arming reminder active 7 days a week.
- Select Custom to select which days the arming reminder should be active.
- Select which recipients should receive the reminder.
- Select Enable.
_1_(1).png?revision=1)