Create/edit a light automation schedule
Light automation schedules turn your lights on and off based on set times. From the Alarm.com customer website, you can easily create custom rules to control the lights in your home or business.
Note: If these options are not visible, contact your service provider.
Create a schedule
To create a light automation schedule:
- Log into the Alarm.com customer website.
- Click Automation.
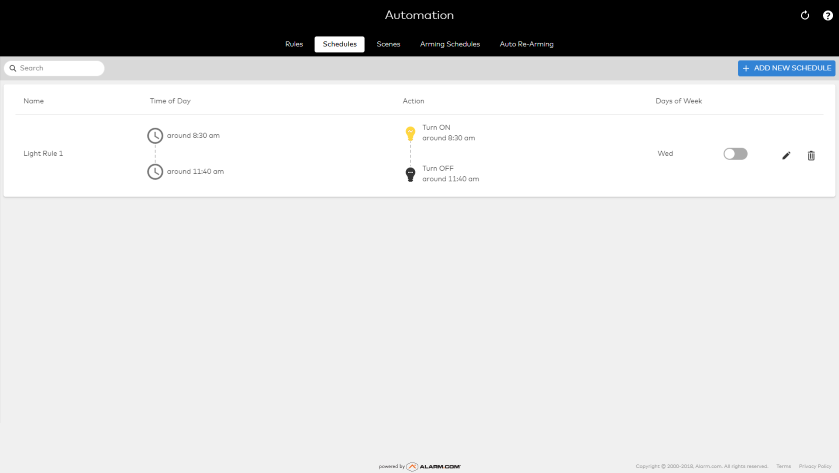
- Click Schedules.
- Click Add New Schedule.
- Click Light Schedule (if applicable).
- Enter a name for the schedule.
- In Automate my, click to select Lights.
- In Select Devices, click to select each of the desired lights to use for this schedule.
- In On these days, click to select the desired days for the schedule to run.
- In Perform these scheduled actions, use the First dropdown menu to select the starting action of the schedule.
- Turn ON - This will turn on the selected light(s) at the desired time.
- Turn OFF - This will turn off the selected light(s) at the desired time.
- DIM - This will dim the selected light(s) to the selected percentage at the desired time.
- Use the slider to select the desired dimness level for the lights for this option.
Note: This option will only apply to lights with a dimming feature. For more information about which devices have the dimming feature, see the device Quick Facts in Lighting and Appliance Control.
- Use the slider to select the desired dimness level for the lights for this option.
- In Based on, click to select the desired time of day for the action to take place.
Note: Sunrise and Sunset are determined by the system address in Alarm.com. - Using the Then dropdown menu, click to select the desired action. This dropdown will determine whether the First action will continue indefinitely or end at a designated time.
- If desired, click to select the Away from Home option.
Note: The Away from Home option cannot be enabled if the rule is scheduled to perform actions at sunrise or sunset. - Click Save.
To create a multi-colored light automation schedule:
Note: This option is only available if a multi-colored light is installed on your account.
- Log into the Alarm.com customer website.
- Click Automation.
- Click Schedules.
- Click Add New Schedule.
- Click Light Schedule (if applicable).
- Enter a name for the schedule.
- In Automate my, click to select Multi-Colored Lights.
- In Select Devices, click to select each of the desired lights to use for this schedule.
- In On these days, click to select the desired days for the schedule to run.
- In Perform these scheduled actions, use the First dropdown menu to select Set Color, and click
to select the desired color.
- In Based on, click to select the desired time of day for the action to take place.
Note: Sunrise and Sunset are determined by the system address in Alarm.com. - Using the Then dropdown menu, click to select the desired action:
- Leave ON - This will keep the light on at that same color until it is manually turned off.
- Turn OFF - This will have the light turn off at the selected time.
- Click Save.