Create/edit a Scene
Scenes allow you to configure a single button press in the iOS and Android mobile app to execute multiple actions across multiple devices at once.
Note: Default scenes (i.e., Home, Away, Sleep, and Wake Up) can only be edited and not deleted. For more information about what scenes are, see How do Scenes work?.
Create/edit a scene
To create/edit a scene using the Alarm.com app:
- Log into the Alarm.com app.
- Tap Scenes.
- To edit an existing scene, tap
 on the scene.
- Tap Edit.
- Edit the scene as desired.
- To create a new scene, tap
 .
.
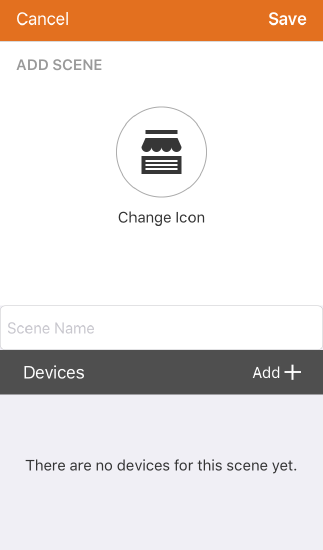
- In the Scene Name field, enter the desired name for the scene.
- Tap the icon symbol to change the icon image and color to represent the Scene.
- In Devices, tap Add to select the device the scene will control.
- Depending on the equipment enrolled in your system, these are the following types of actions:
- In Security System, tap to select the desired arming status. The panel can be placed into Disarmed, Armed (Stay), or Arm (Away) status.
- In Lock, tap to select the desired lock status. Locks can be locked or unlocked.
- In Garage, tap to select the desired garage door status. Garage doors can be opened or closed.
Note: A garage door action cannot be performed in a Scene that has an Armed (Away) action. - In Gate, tap to select the desired gate status. Gates can be opened or closed.
- In Thermostat, tap the desired thermostat status. Thermostats can be set to a custom temperature, mode, schedule, fan status, and/or specific temperature sensors.
- In Lights, tap the desired light status. Lights can be set to On, Off, or a specified brightness level (with compatible devices).
- In Audio, tap to select the desired zone actions. Audio zones can be played, turned off, or muted.
- Once all the actions are set, tap Save.
To create/edit a scene using the Alarm.com customer website:
- Log into the Alarm.com customer website.
- Click Automation.
- Click Scenes.
- To edit an existing scene, click
 next to the name of the scene.
 - To create a new scene, click New Scene.
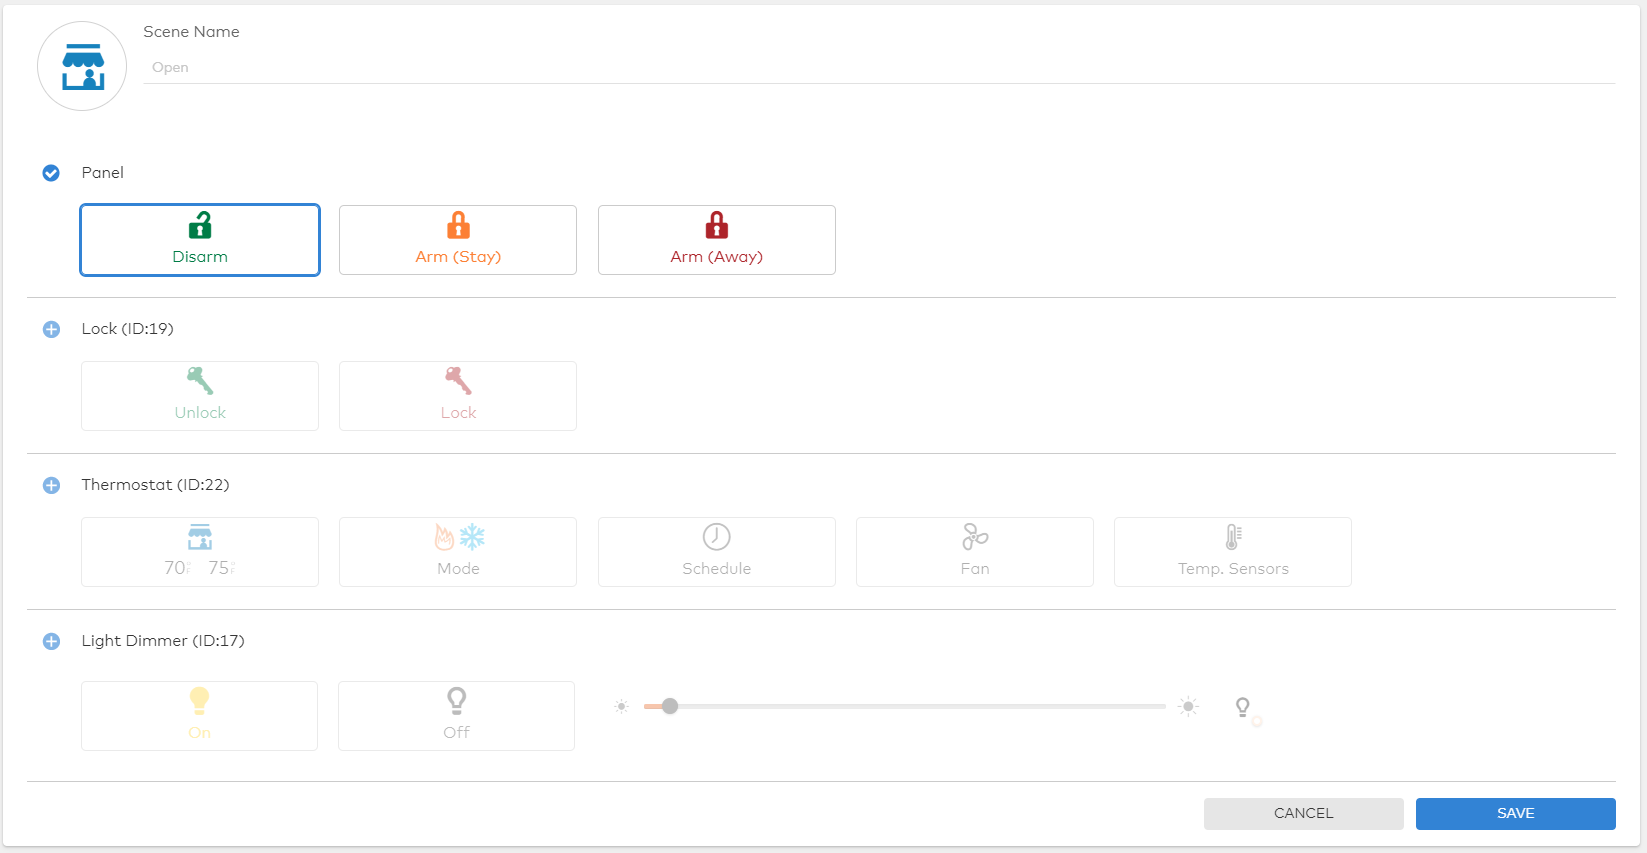
- In the Scene Name field, enter the desired name for the scene.
- Click the icon symbol to change the icon image and color to represent the Scene.
- Depending on the equipment enrolled in your system, there are the following types of actions:
- For panels, click to select the desired arming status. The panel can be placed into Disarmed, Armed (Stay), or Arm (Away) status.
- For locks, click to select the desired lock status. Locks can be locked or unlocked.
- For garage doors, click to select the desired garage door status. Garage doors can be opened or closed.
Note: A garage door action cannot be performed in a Scene that has an Armed (Away) action. - For gates, click to select the desired gate status. Gates can be opened or closed.
- For thermostats, click the desired thermostat status. Thermostats can be set to a custom temperature, mode, schedule, fan status, and/or specific temperature sensors.
- For lights, click the desired light status. Lights can be set to On, Off, or a specified brightness level (with compatible devices).
- Click Save.